Yoga practice for people after menstruation
After the lethargy of the inner winter, it is time to reawaken the energy of the inner spring.
 Serves: 1 person
 Difficulty: Easy
 Total time: 31-60 minutes
 Ingredients: A quiet place with no distractions, 1 yoga mat, comfortable clothes, 1 yoga belt, 1 chair, 2–3 blankets, bolster and yoga block (optional)
 Wholebeing Domains: Awareness, Rest, Ritualising
 Wholebeing Skills: Aligning with the cycles, Centring, Embodiment, Exercising, Liberation, Mind-body-connection, Mindfulness, Movement, Refuge, Slowing down

Yoga practice for people after menstruation
 Description
A cleansing and vitalising yoga practice appropriate for people after menstruation.
This re-balancing and energising yoga practice is appropriate for people after menstruation (if you are still menstruating, check out our recipe “Yoga practice for people during menstruation”). As explored in our recipe “The four seasons of a woman’s cycle”, the phase following the menstruation is called “inner spring”, which is all about rebirth, renewal, and cleansing. During this phase, you will feel energised and happy, ready to get back into the world slowly and take on new projects.
The following practice helps you reactivate the body after the “inner winter” (aka the menstrual phase) by guiding you through a series of cleansing and vitalising poses. In particular, after menstruation, inversions are important poses because they enable your body to cleanse itself. For example, poses like sirsasana revitalise your nervous system, relieves stress, boosts brain function, increases focus, etc. which are all important considering this is the optimal time to dedicate yourself to new projects, reading and researching, learning, and performing physical tasks. You can download this two-pager document with images of all poses.
Big thanks to Greta’s yoga teacher, Ilaria Zinzani of Studio Yoga Ilaria Zinzani in Faenza, for sharing this practice with us.
 Steps
Steps
Step 1 – Swastikasana (2’)
Sit upright on your yoga mat (you can sit on a blanket or a yoga block if you need a bit more height to keep your back straight) and cross your legs in a comfortable position. Rest your hands on your knees or tights and take a moment to breathe and to arrive before starting the practice.
Step 2 – Parvatasana (2’)
From Swastikasana, extend your arms in front of you and interlock your fingers (pay attention to which index finger is on top). Turn the hands so the palms are facing outwards and on an inhale, raise your arms above your head. Lock your elbows to reach maximum height but keep the throat soft and drop the shoulders away from the ears. After a while, lower your arms, change the crossing of your legs (so you are in the less comfortable position) and change the crossing of your fingers (so the other index finger is on top, also less comfortable) and repeat.
Step 3 – Gentle spinal twist (3’)
From Swastikasana, raise both your arms and turn to the right so that your left hand is against the right knee and the right hand grasps the back of the yoga mat or blanket, to help your spine into a gentle twist. After a while, come back to centre and repeat on the other side.
Step 4 – Tadasana • mountain pose (5’)
Stand up in Tadasana (mountain pose), keeping your feet close to one another (big toes touching and a few millimetres between your heels). Straighten your legs, lock your knees, and extend the arms along your body. After a couple of minutes, you can repeat this pose using a yoga block (or a thick book). Separate the feet a little bit more (just a few centimetres), bend the knees, place your yoga block (vertically) in between your legs, at the very top of your thighs, then straighten the legs and squeeze the block from the hips. Keep your abdomen soft.
Step 5 – Utthita Hasta Padangusthasana (forward) (2’–3’ each side)
Grab a chair and place it on the yoga mat so that the seat is closest to you and the back of the chair furthest away. If the back of the chair is hard, you can place a folded blanket on top of it. Grab your yoga belt (or your bathrobe belt). Stand in Tadasana in front of the chair then lift your right foot so the right heel rests on the back of the chair. Place the belt around the right foot and hold it with both hands. Check that your left foot is straight and try to push your left hip towards the back to realign your waist. After a while, swap sides.
Step 6 – Utthita Hasta Padangusthasana (side) (2’–3’ each side)
Repeat the same pose, but this time to the side. Stand in Tadasana but looking in front of you rather than towards the chair. Place the right foot on the seat then lift it so the right heel is resting on the back of the chair. Once again place your belt around your right foot and hold it with the right hand. Extend the left arm to the side at shoulder height. After a whilst, swap sides.
Step 7 – Trikonasana • triangle pose (2’–3’ each side)
Remove the chair and stand in Tadasana. Jump or walk your feet wide apart (the feet should approximately be under your hands if you extend the arms to the side). Turn your right foot out 90 degrees and left foot in by 15 degrees. Align the centre of your right heel with the centre of your arch of the left foot. Inhale deeply and as you exhale, bend your body to the right, downward from the hips, until your right hand touches your right shin and your left hand comes up in the air above your head. Keep both arms in a straight line. After a while, repeat on the other side.
Step 8 – Ardha Chandrasana • half-moon pose (2’–3’ each side)
For this pose, grab your yoga block and place it on the right side of your mat. If you struggle with balance, you can also do this pose with the back against the wall. Begin in Trikonasana on the right side. Bend your right knee, move your left foot a bit closer and bring your left hand to your hip. Place your right hand on the yoga block which should be in line with your right pinkie and under your shoulder when you are in full pose. Apply pressure on the yoga block when you begin to straighten your right left whilst simultaneously lifting your left foot off the floor. Keep your left leg as straight as possible. Open your hips, stacking the left hip point on top of the right hip point. Straighten your left leg parallel to the floor and extend the left arm up toward the ceiling (if you feel balanced), opening the chest and making a straight light with the right and left arms perpendicular to the floor. To come out, bend your right knee and return to Trikonasana, before coming up. Swap sides and repeat.
Step 9 – Parsvottanasana (2’–3’ each side)
Grab a chair and place it on the yoga mat so that the seat is closest to you and the back of the chair furthest away. Stand in Tadasana in front of the chair. Step your right foot back and turn it 15 degrees out. Extend both legs and place your hands on the seat of the chair to help you straighten the back. Pull your left hip towards the back, so it is in alignment with the right. After a while, step forward with the right foot and repeat on the other side.
Step 10 – Adho Mukha Svanasana • downward-facing dog pose (2’)
Go in all fours, place your hands on the mat beside your feet and when you exhale, step back with your feet into downward-facing dog. Spread your palms and soles. Press the front of your thighs back as you press your inner hands firmly against the floor. Imagine that your torso is being stretched like a rubber band between the arms and legs. To come out of the pose, either jump or step forward with your feet and bring them in between your hands in Uttanasana. Then straighten your legs, lock your knees, place your hands on your hips, and come up with a straight back.
Step 11 – Sirsasana • headstand (5’)
Only do this pose if you have practiced it before! If not, please read the following step for an alternative.
If you do with the support of a wall, please fold your mat into four and place it against the wall. Kneel in front of your mat and place your elbows shoulder-width apart near the end of the mat (in this case, close to your knees rather than the wall). Interlock your fingers right up to the webs and keep them relaxed. A loose interlock invites instability; rigid fingers will create unnecessary tension. Align the wrists perpendicular to the floor and centre your weight on the edge of the forearm bone, rolling neither in nor out.
Still kneeling, place the crown of your head on your mat and move the back of your head directly into your hands. To prevent the cervical vertebrae from collapsing into one another, firmly press the forearms and wrists into the floor. This grounding lifts the shoulders away from the head, creating space in the neck. Practise first lifting and then dropping the shoulders a few times so the distinction is clear. Then keep them lifted and raise your knees, keeping your feet on the floor.
When you are ready, lift your hips so your knees come off the ground and walk your feet closer to your head, bringing the torso as nearly perpendicular to the floor as possible. As you walk in, you will need to work harder to maintain the lift of your shoulders.
Once you are able to lift your hips and bring them near the wall without collapsing the upper body, you are ready to take your feet from the floor and stand on your head. This time, once you have walked in as far as you can without collapsing in your back and shoulders, tilt your hips back toward the wall so your feet become light. Ideally, the shift of the hips and the strength of the abdominal and back muscles will enable you to lift the feet smoothly and easily away from the floor.
With an exhalation, bring your feet up, keeping your knees bent near your chest. Don’t hold this position for long, because with the body drawn into a compact shape you will tend to collapse in your neck, shoulders, and mid-back. Still keeping the knees bent, take your feet to the wall. With your heels in contact with the wall, stretch the legs up one at a time.
Continue to press your forearms and wrists into the floor, lift your shoulders, and draw your mid-thoracic spine in and up. Stretch your legs fully up toward the ceiling by squeezing the outer thighs, calves, and ankles in toward one another and drawing the entire inner and back legs upward. You can also place your block in between your thighs, and/or do Baddha Konasana after a while.
To come out of this pose, lower one leg at the time and rest for a few moments in Balasana (child’s pose) with your forehead resting on your crossed arms, before coming into Uttanasana and returning to Tadasana.
Step 12 – Alternative to Sirsasana: Prasarita Padottanasana • wide-legged forward bend (5’)
Stand in Tadasana (Mountain Pose), facing one of the long edges of your sticky mat, then step or lightly hop your feet apart anywhere from 3 to 4 1/2 feet (depending on your height: taller people should step wider). Rest your hands on your hips. Make sure your inner feet are parallel to each other. Lift your inner arches by drawing up on the inner ankles, and press the outer edges of your feet and ball of the big toe firmly into the floor. Engage the thigh muscles by drawing them up. Inhale and lift your chest, making the front torso slightly longer than the back.
Exhale and, maintaining the length of the front torso, lean the torso forward from the hip joints. As your torso approaches parallel to the floor, press your fingertips onto the floor directly below your shoulders. Extend your elbows fully. Your legs and arms then should be perpendicular to the floor and parallel to each other. Move your spine evenly into the back torso so that your back is slightly concave from the tailbone to the base of the skull. Bring your head up, keeping the back of the neck long, and direct your gaze upward toward the ceiling.
Push your top thighs straight back to help lengthen the front torso, and draw the inner groynes away from each other to widen the base of your pelvis. Take a few breaths. As you maintain the concavity of your back and the forward lift of your sternum, walk your fingertips between your feet. Take a few more breaths and then, with an exhalation, bend your elbows and lower your torso and head into a full forward bend. Make sure as you move down that you keep your front torso as long as possible. If possible, rest the crown of your head on the floor.
To come out of the pose, bring your hands forward underneath your shoulders, straighten your back parallel to the floor, place your hands on the hips and come up with a straight back. Jump or step your feet together into Tadasana.
Step 13 – Salamba Sarvangasana • supported shoulderstand (5’)
Place 5-6 blankets at the top of your yoga mat and fold the end of the yoga mat to cover half of the blankets. Lie on your back with your shoulders resting on the blankets, and the head on the floor. Press the hands into the floor, swing the legs over and to the floor over the head. Press the elbows and upper arms into the blanke, turn the palms and support the upper back with the hands. Lift the hips and trunk towards the ceiling, lengthening up the sides of the trunk. Come right up onto the top of the shoulders, keep the back of the neck long on the floor. Swing one leg at a time, straight up so the feet are parallel to the floor and the ceiling. Continue to press the arms and elbows down and lift and lengthen the spine, hips and legs up.
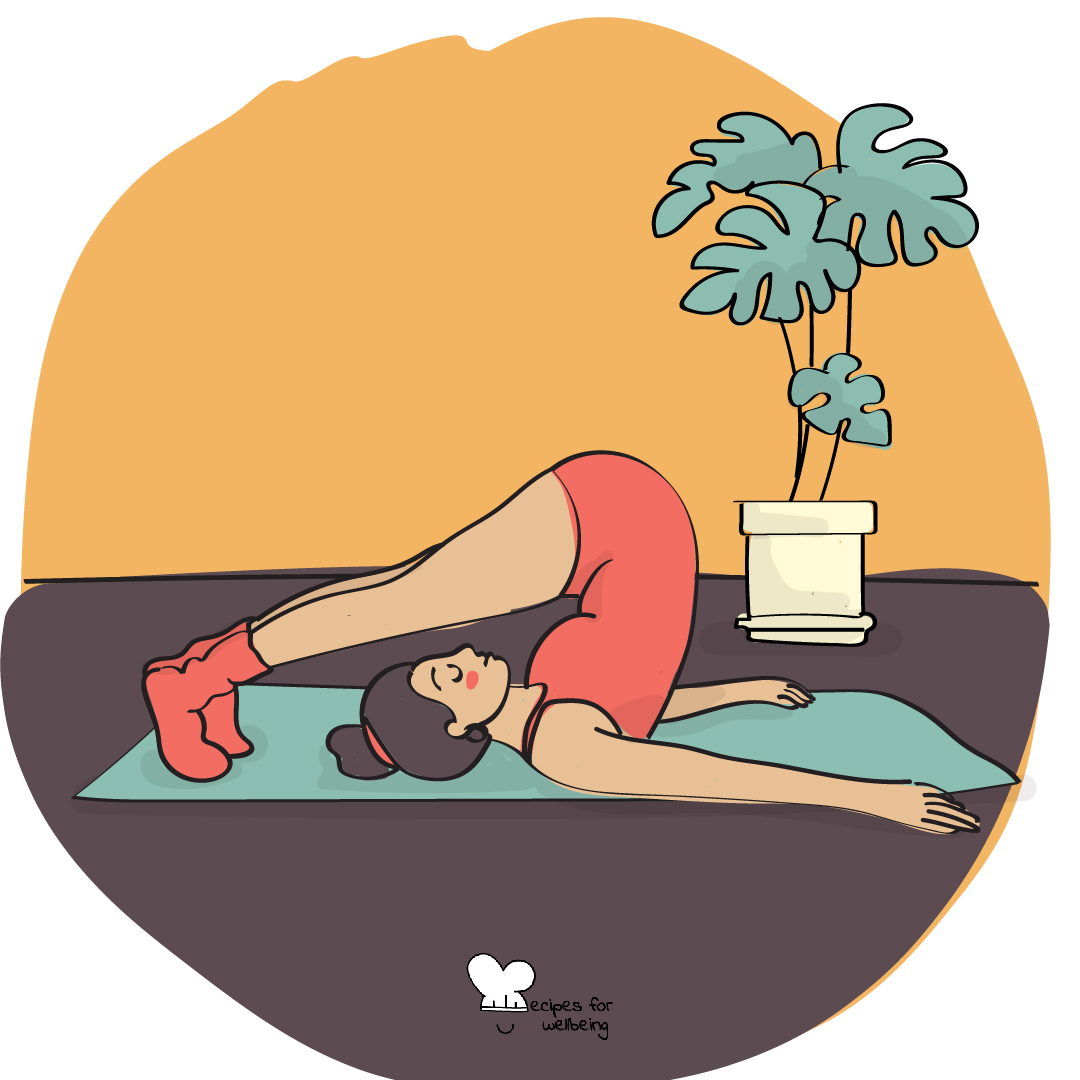
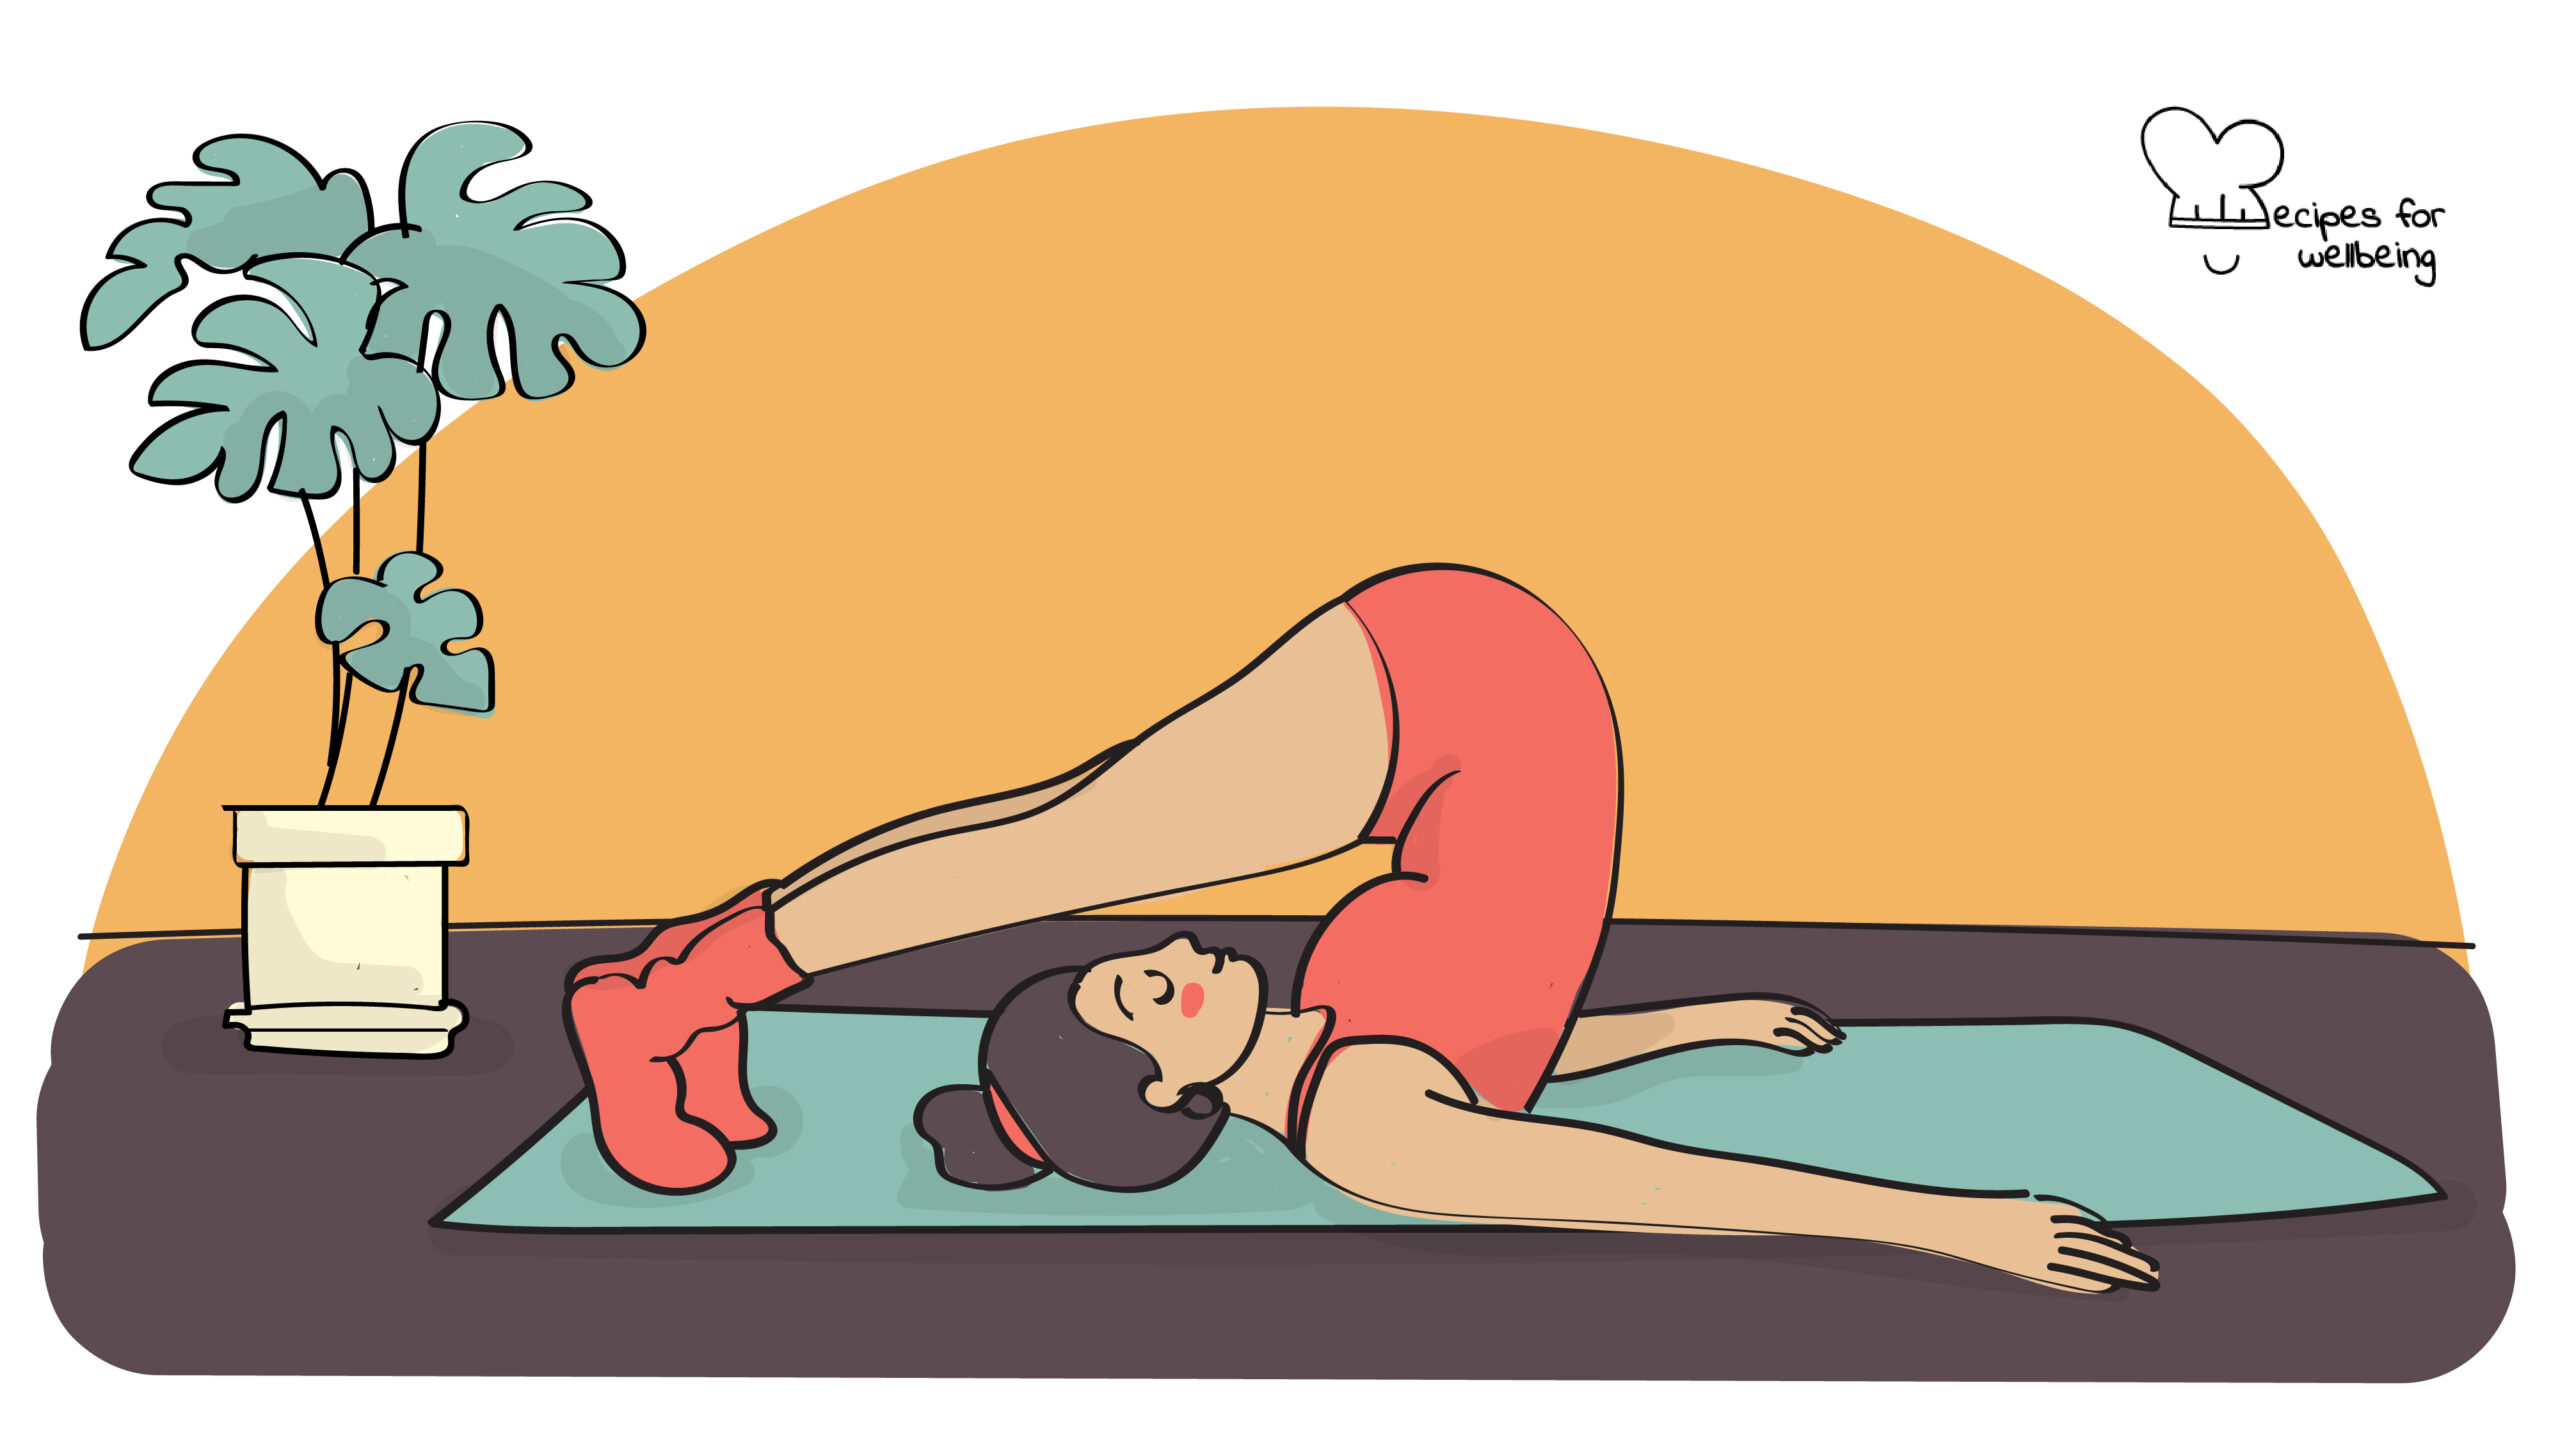
Step 14 – Halasana • plough pose (2’)
From Salamba Sarvangasana, press the palms into the back and with the legs straight, lower one leg at the time until the toes reach the ground behind your head. Take your chest and hips slightly back to do this. Extend the legs onto the floor or onto a chair, block or bolster support and open the backs of the knees as you lift the tops of the thighs towards the ceiling. Place the palms of your hands on either side of your spine with the fingers pointing up towards your tailbone. When you feel stable enough, extend the arms overhead (opposite direction to your legs).
Step 15 – Viparita Karani • leg-up-the-wall pose (5’)
If using a prop, place a bolster (or several firm, folded blankets) with the long side parallel to the wall and six inches away from it. Lie with your right hip atop the right end of the bolster. Roll onto your back, bringing the buttocks to the wall. Keep your knees bent and your feet resting on the wall.
You should be supported from the back of the pelvis to the lowest ribs; adjust the prop if necessary. To avoid the sensation that you are falling off the bolster toward your head, bring the bottom of the buttocks over the bolster and toward the floor. Tuck the shoulders underneath you to support and open your chest.
Straighten the legs up the wall, allowing their weight to move toward the sitting bones, and relax the front groynes. Bring your arms into a T shape and stretch the inner and outer legs evenly and completely toward the wall. Release your muscles, breathe quietly, and relax completely.
To come out, bend your knees and press your feet into the wall, lift the hips, and move away from the wall until the whole back rests on the floor.
Step 16 – Savasana (10’)
Come into corpse pose (Savasana) for the final relaxation. Simply lay down on your yoga mat (you can use a thinly folded blanket for your head and/or a bolster/blanket underneath your knees). After a few minutes, start to move your fingers and toes… do a full-body stretch if that feels good. Roll to the right side, using your right arm as a pillow, enjoying a few more moments of not doing and just being… When you are ready, use the left arm to push you into a seated posture and you can stay here for a few more breaths before going back to your day.


 Arabic
 Chinese (Simplified)
 Dutch
Dutch English
 French
 German
 Italian
 Portuguese
 Russian
 Spanish